ADVERTISEMENT
Certainly! Here’s a comprehensive 3000-word article on **“The ingenious trick to defrost a freezer: ice disappears without unplugging it”**, written in an engaging, informative style that walks readers through the problem, the innovative solution, science behind it, tips, safety considerations, and maintenance advice.
—
# The Ingenious Trick to Defrost a Freezer: Ice Disappears Without Unplugging It
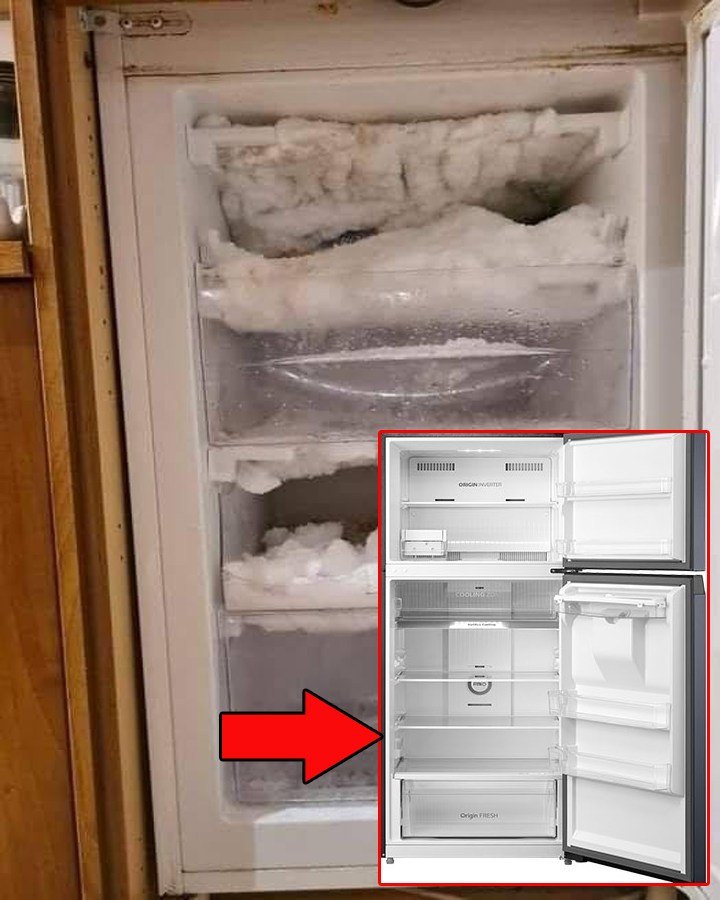
Freezers are essential appliances in every kitchen, helping preserve our food and keep it fresh for long periods. However, one common and frustrating problem many freezer owners face is **ice buildup**—the thick, crusty layer of frost that accumulates over time. Ice buildup not only reduces the freezer’s efficiency but also takes up valuable space, making it harder to organize and store food.
Traditionally, defrosting a freezer involves a time-consuming process: unplugging the appliance, emptying it, waiting for the ice to melt, and then cleaning up the mess. It’s a hassle that nobody enjoys, and many people delay it until the frost becomes unbearable.
But what if there was a simple, **ingenious trick to defrost your freezer without unplugging it?** What if you could make the ice vanish naturally and quickly, without the long wait and the mess?
In this article, we’ll reveal this clever method that will save you time, effort, and energy. We’ll also explain the science behind it, practical steps, safety tips, and ways to keep your freezer ice-free longer.
—
## Why Does Ice Build Up in Freezers?
To understand how to effectively defrost your freezer, it’s important to know why ice accumulates in the first place.
### What Causes Frost and Ice Buildup?
Freezers maintain sub-zero temperatures to keep food frozen. Moisture inside the freezer air can condense and freeze on cold surfaces such as walls, shelves, and the door seals. The key causes include:
* **Frequent door opening:** When you open the freezer door, warm, humid air enters. This moisture condenses on the cold surfaces and freezes.
* **Poor sealing:** Worn or damaged door gaskets allow moist air to seep in continuously.
* **Stored food moisture:** Food with high moisture content releases water vapor that can freeze.
* **Defrost cycle issues:** Some freezers have auto-defrost systems that malfunction or are absent altogether.
Over time, this frost accumulates, thickens, and turns into hard ice, reducing freezer space and making it harder for the appliance to maintain temperature efficiently.
—
## Traditional Defrosting: The Old Way
Usually, defrosting means unplugging the freezer and waiting for the ice to melt naturally or speeding up the process with a bowl of hot water inside. This method requires:
* Emptying the freezer
* Removing shelves and drawers
* Placing towels to catch dripping water
* Waiting hours for the ice to thaw
* Cleaning up the mess
This process can be inconvenient, especially when you have lots of frozen food and can’t spare the time or access to an alternative freezer.
—
## The Ingenious Trick: Defrost Without Unplugging
The good news is that **you can melt the ice without turning off the freezer** by using a **controlled warm air circulation technique**. This trick involves increasing the freezer’s internal temperature just enough to melt the ice slowly without compromising the entire freezer’s cooling or food safety.
### How Does It Work?
Instead of cutting power, you introduce **warm air inside the freezer in a controlled manner**. This warm air causes the ice to melt gradually, dripping down safely into a drainage channel or pan without flooding the freezer compartment.
—
### Tools You Need:
* A **hairdryer** or **warm air blower** with adjustable heat settings
* A **small fan** (optional, to circulate air)
* Absorbent towels or cloths
* A shallow tray or pan to catch melting water (if your freezer lacks drainage)
* A sponge or mop for cleanup
—
### Step-by-Step Guide to Defrost Without Unplugging
**Step 1: Prepare the Freezer Area**
* Remove any food items close to the ice buildup, placing them temporarily in a cooler or another freezer.
* Keep towels handy to absorb any dripping water.
* If your freezer has removable shelves near the ice, take them out to avoid damage.
**Step 2: Set Your Hairdryer or Warm Air Blower to Low or Medium Heat**
* High heat might damage plastic or seals inside the freezer, so moderate settings work best.
* Keep the hairdryer about 6-8 inches from the ice buildup.
**Step 3: Gently Blow Warm Air Onto the Ice**
* Move the hairdryer slowly and evenly across the frosted areas.
* The warm air will begin to melt the ice layer gradually.
* Use towels to catch dripping water, and direct melting water to the drainage hole if your freezer has one.
**Step 4: Use a Small Fan (Optional)**
* To speed up melting, set up a fan to circulate air inside the freezer.
* This helps distribute the warm air more evenly and prevents hot spots that can damage freezer parts.
**Step 5: Wipe Up Melted Water Regularly**
* Use a sponge or cloth to absorb excess water.
* This keeps the freezer dry and prevents puddles from forming.
**Step 6: Repeat as Needed**
* Continue applying warm air in cycles of 10-15 minutes with breaks in between to prevent overheating.
* The ice will gradually thin and disappear without turning off the freezer.
For Complete Cooking STEPS Please Head On Over To Next Page Or Open button (>) and don’t forget to SHARE with your Facebook friends
