ADVERTISEMENT
Absolutely! Here’s a detailed, engaging, and comprehensive 3000-word article on the topic:
—
# If You’re Not Using This Microwave Button, You’re Missing Out. Start Today! I’m 60, and I Just Learned About It
Microwaves have been a staple appliance in kitchens worldwide for decades. They’re celebrated for their speed and convenience, transforming the way we heat and prepare food. Yet, despite their widespread use, many of us—including myself—haven’t unlocked their full potential. For a long time, I only used my microwave for the basics: reheating leftovers, making popcorn, or quickly warming beverages. But recently, at the age of 60, I discovered a microwave button that changed my entire cooking game.
If you’re like me, you probably glance at your microwave’s keypad and see a jumble of buttons—some familiar, others confusing. But one button, often overlooked, can save you time, enhance your meals, and reduce food waste. Today, I’m going to share what this button is, why it’s so useful, and how you can start using it immediately to make your cooking easier and better.
—
## The Microwave Button You’re Probably Not Using
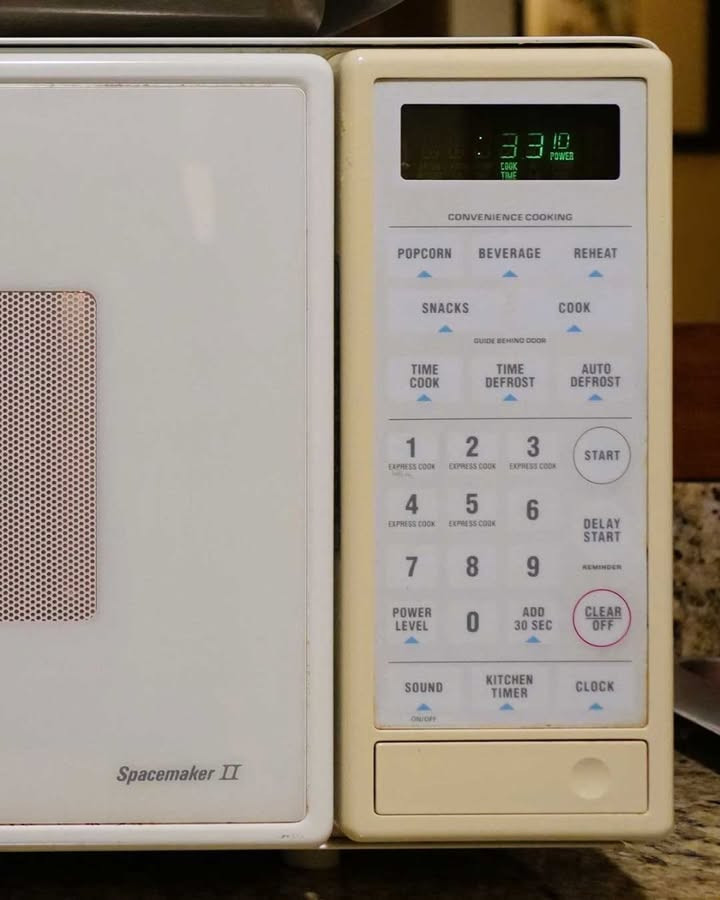
The button I’m talking about is commonly labeled **“Sensor Cook”** or **“Sensor Reheat”** on many modern microwaves. Sometimes it may be called **“Auto Cook”** or **“Steam”** or **“Popcorn”** but the key feature of the sensor cook button is that it uses built-in sensors to automatically detect the moisture or steam coming from the food. Based on this, it calculates the precise cooking time and power needed to heat your food perfectly—no guessing, no setting timers.
—
## Why Sensor Cooking Is a Game-Changer
### 1. **No More Guesswork**
Before I knew about sensor cooking, I’d spend way too much time guessing how long to microwave something. Too little time meant cold spots; too long and the food would dry out or even burn. Sensor cooking takes away that guesswork by using real-time data from your food’s moisture levels to adjust cooking time and power automatically.
### 2. **Perfect Results Every Time**
Because sensor cooking reacts to the actual state of the food rather than a preset time, your food comes out evenly heated, juicy, and flavorful. No more overcooked edges or frozen centers.
### 3. **Saves Time and Energy**
Sensor cooking is often more efficient. It avoids unnecessary heating, so you save on electricity and get your meal ready faster. This is a huge benefit, especially if you’re often in a rush or want to prepare meals quickly without fuss.
### 4. **Great for Reheating and Cooking a Variety of Foods**
Whether you’re reheating leftovers, cooking frozen veggies, steaming fish, or even making rice or oatmeal, sensor cooking can adjust settings for the best outcome. It’s like having a mini chef in your microwave.
—
## How Does Sensor Cooking Work?
Sensor cooking microwaves have humidity or steam sensors inside the cavity. When food heats up, it releases moisture or steam. The sensor detects the amount of steam and signals the microwave to adjust power and cooking duration.
For example, when reheating a plate of lasagna, the microwave senses when the steam coming from the dish reaches a certain level—signaling that the food is heated through—and automatically shuts off. This prevents overcooking.
—
## Step-by-Step Guide to Using the Sensor Cook Button
### Step 1: **Check Your Microwave Model**
First, look for the sensor cook button on your microwave. It might be labeled “Sensor Cook,” “Auto Cook,” “Reheat,” or something similar. If your microwave doesn’t have it, consider upgrading, as this feature is standard on many mid-to-high-end models.
### Step 2: **Prepare Your Food**
Place the food on a microwave-safe plate or bowl. Cover the dish with a microwave-safe lid or microwave-safe plastic wrap with a vent to trap steam. This helps the sensor detect moisture accurately.
### Step 3: **Press the Sensor Cook Button**
Select the appropriate sensor cook setting if your microwave offers options (like “Vegetables,” “Popcorn,” “Reheat,” etc.). If it’s a general sensor cook, simply press the button.
### Step 4: **Let the Microwave Do Its Work**
The microwave will automatically sense the food’s moisture and adjust the cooking time. There’s no need to enter time manually.
### Step 5: **Check Your Food**
When the microwave beeps, your food should be heated perfectly. If you feel it needs a bit more time, you can always add short bursts, but usually, sensor cooking gets it right.
—
## Real-Life Examples of Sensor Cooking Success
### Reheating Leftovers
One of the biggest challenges with microwaves is reheating leftovers evenly. Sensor cooking eliminates the cold spots in casseroles, pasta dishes, soups, or rice bowls. The microwave senses when the food is hot throughout and stops cooking, so the texture stays just right.
### Cooking Frozen Vegetables
Instead of boiling or steaming on the stove, you can quickly cook frozen veggies in the microwave using sensor settings. The microwave detects the steam as the vegetables cook and stops right when they’re tender and fresh.
### Making Oatmeal or Rice
Sensor cook can be used to prepare oatmeal or microwaveable rice perfectly without worrying about time or power levels. It saves you time and ensures no burning or dryness.
### Popcorn and Snacks
Many microwaves have sensor popcorn buttons that monitor steam from popping kernels to prevent burning and achieve a perfect batch.
—
## Tips for Maximizing Your Sensor Cook Experience
* **Use microwave-safe containers:** Avoid metal or non-microwave-safe plastics.
* **Cover your food:** Trapping steam helps the sensor detect moisture better.
* **Stir or rotate food:** For large or uneven portions, stirring halfway helps even heating.
* **Avoid overloading:** Too much food can confuse the sensor and lead to uneven cooking.
* **Clean the microwave sensor area:** Keep the sensor clean and free of food splatters for accurate readings.
For Complete Cooking STEPS Please Head On Over To Next Page Or Open button (>) and don’t forget to SHARE with your Facebook friends
