ADVERTISEMENT
**Step-by-Step Instructions**
1. **Prepare the Workspace**: Lay down a protective covering on the work surface to catch any spills. Place the cardstock or thick paper on a tray or baking sheet.
2. **Create the Design**: Using the white school glue, draw a design on the paper. This could be freehand or using a stencil. Popular designs include flowers, animals, geometric shapes, or seasonal themes like snowflakes or fireworks .
3. **Apply the Salt**: While the glue is still wet, generously sprinkle table salt over the entire design. Ensure the glue lines are completely covered. Gently tap the paper to remove any excess salt, which can be saved for future projects .
4. **Let It Dry**: Allow the glued and salted design to dry completely. This may take several hours or overnight, depending on the amount of glue used.
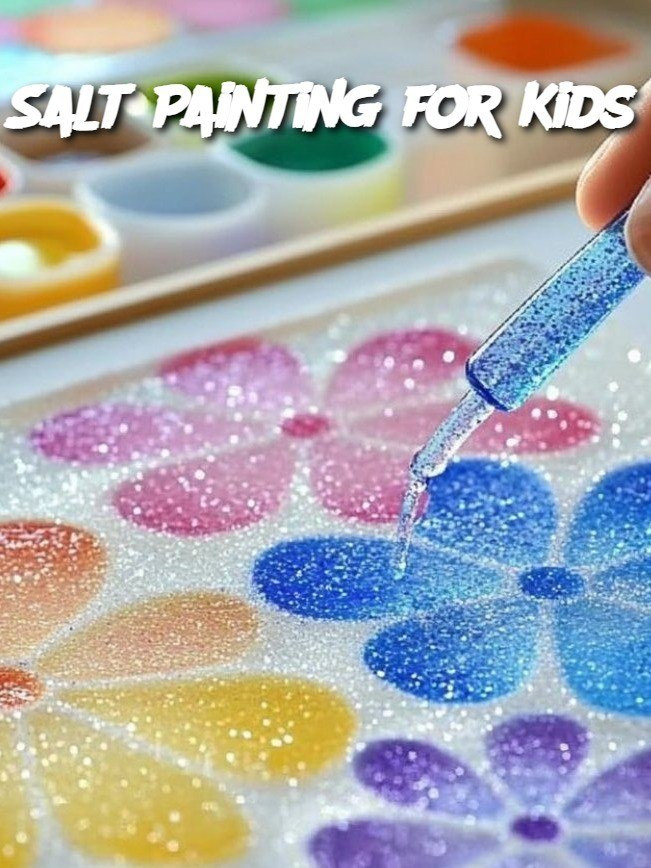
5. **Add Color**: Once dry, use a paintbrush to apply watercolor paint to the salted design. The paint will spread along the salt lines, creating a beautiful, textured effect. Experiment with different colors and techniques to see how the salt interacts with the paint .
6. **Dry and Display**: Allow the painting to dry fully. Some salt may fall off during the drying process, leaving behind a stunning watercolor design. Once dry, the artwork can be displayed or even framed.
—
**Scientific Concepts Explored**
Salt painting is more than just an art activity; it also serves as an introduction to scientific concepts:
* **Absorption**: Salt is hygroscopic, meaning it absorbs water. When watercolor paint is applied, the salt draws in the water, causing the paint to spread along the salt crystals .
* **Capillary Action**: The movement of the paint along the salt crystals demonstrates capillary action, where liquid moves through small spaces due to adhesive and cohesive forces.
These concepts can be discussed with children during the activity, enhancing their understanding of science through art.
—
**Creative Variations**
To keep the activity exciting and tailored to different interests, consider these creative variations:
* **Seasonal Themes**: Create salt paintings based on the current season. For example, snowflakes and winter scenes for winter, flowers and rainbows for spring, or pumpkins and leaves for fall.
* **Themed Templates**: Use printable templates for specific designs like animals, vehicles, or holiday symbols. This can help children focus on the painting process rather than drawing the design.
* **Mixed Media**: Incorporate other materials such as glitter, beads, or fabric to add texture and dimension to the artwork.
* **Science Experiments**: Compare salt painting with sugar painting to observe the differences in how each absorbs paint, providing a hands-on science experiment.
—
**Benefits of Salt Painting**
Engaging in salt painting offers numerous benefits for children:
* **Enhances Fine Motor Skills**: Squeezing glue bottles, sprinkling salt, and painting with brushes help develop hand-eye coordination and dexterity.
* **Stimulates Creativity**: The process encourages children to think creatively, experiment with colors, and express their ideas visually.
* **Introduces Scientific Concepts**: As discussed, the activity introduces basic scientific principles in an accessible and enjoyable way.
* **Provides Sensory Stimulation**: The tactile experience of handling salt and the visual effects of the paint engage multiple senses.
* **Promotes Patience and Focus**: The drying time and careful application of paint teach children patience and attention to detail.
—
**Conclusion**
Salt painting is a delightful and educational activity that combines art and science in a fun and engaging way. It provides children with an opportunity to express their creativity, learn about scientific concepts, and develop essential skills. Whether done as a solo project or a group activity, salt painting is sure to captivate and inspire young artists.
For more creative ideas and inspiration, explore additional resources and tutorials on salt painting and other art activities for kids.
—
