ADVERTISEMENT
Certainly! Here’s a comprehensive 3000-word article about the useful and easy-to-apply trick for unclogging shower head holes and improving water pressure — a timeless household hack passed down from a grandparent that can save you time, money, and frustration.
—
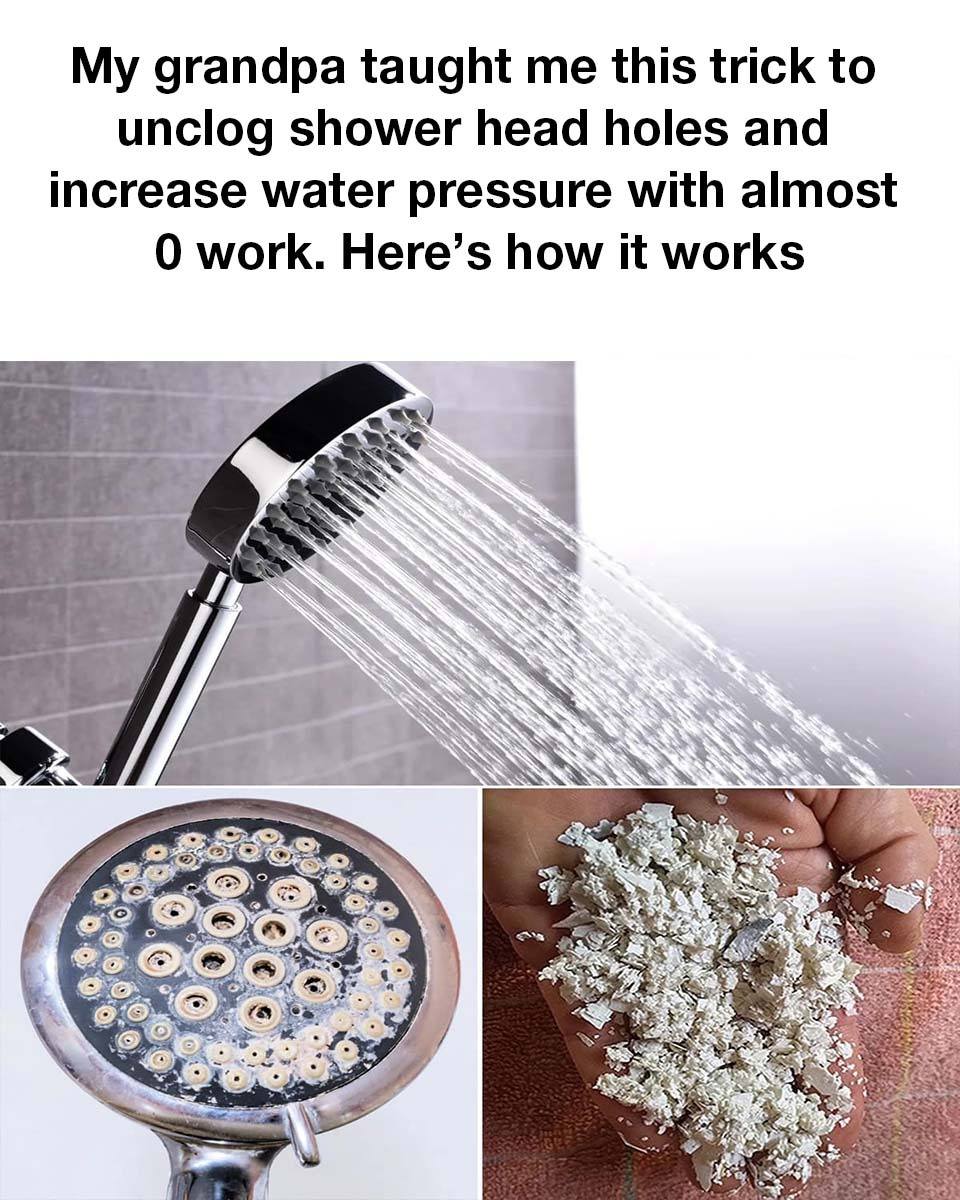
# My Grandpa Taught Me This Trick to Unclog Shower Head Holes and Increase Water Pressure
There are few household annoyances as frustrating as a shower with weak water pressure or clogged showerhead holes. Whether it’s a slow drip or a frustrating trickle, low water pressure in your shower can turn what should be a refreshing and invigorating experience into a dull and unsatisfying one. Fortunately, the solution doesn’t have to involve expensive replacements or complicated plumbing work. In fact, one simple, old-school trick taught to me by my grandpa has saved me countless times — and it can save you too.
In this article, I’ll share the detailed step-by-step method for unclogging showerhead holes to restore water pressure, the science behind why shower heads clog, additional tips to maintain your showerhead, and alternatives if you want to upgrade your system. Let’s dive into this practical, money-saving, and surprisingly easy home maintenance trick that every homeowner should know!
—
## Understanding Why Shower Heads Get Clogged
Before we get into the trick itself, it’s helpful to understand the problem. Why do shower heads clog in the first place?
### 1. Mineral Deposits (Limescale)
In many areas, water is “hard,” meaning it contains a high concentration of minerals like calcium and magnesium. Over time, these minerals accumulate on the tiny holes and surfaces of your shower head, narrowing or blocking the openings. This buildup, known as limescale, reduces water flow and pressure.
### 2. Sediment and Debris
Water can carry sand, rust particles, and other debris through the pipes. Over time, these sediments settle inside the showerhead or its filters, further clogging the small holes.
### 3. Corrosion or Wear
Older shower heads, especially metal ones, may corrode internally or develop deposits that lead to clogging. Plastics can degrade or get mineral-coated as well.
—
## Why You Should Fix a Clogged Shower Head
* **Better Water Pressure:** The most obvious benefit is restoring a strong, consistent flow.
* **Water Efficiency:** When holes clog, water sprays unevenly, sometimes leading to waste or uneven coverage.
* **Comfort:** A powerful, even spray enhances the shower experience.
* **Cost Savings:** Maintaining your showerhead extends its life and avoids costly replacements or plumbing calls.
—
## My Grandpa’s Time-Tested Trick for Unclogging Shower Head Holes
My grandpa was a master of simple household fixes, and his trick to clean showerheads is both clever and easy. It involves using common household ingredients that you probably already have on hand, and a little patience.
### What You Need:
* White vinegar (distilled)
* A plastic bag (a ziplock or produce bag works great)
* A rubber band or twist tie
* An old toothbrush or small soft-bristle brush
* A toothpick or needle (optional, for stubborn holes)
### Why Vinegar?
Vinegar is mildly acidic (acetic acid) and excellent at dissolving mineral deposits like limescale. It’s safe for most showerheads and environmentally friendly compared to harsh chemical cleaners.
—
## Step-by-Step Guide: How to Use the Vinegar Trick
### Step 1: Fill the Plastic Bag with Vinegar
Pour enough white vinegar into the plastic bag to fully submerge the shower head’s nozzles when the bag is attached.
### Step 2: Attach the Bag to the Shower Head
Carefully place the bag filled with vinegar over the shower head so that the nozzles are submerged in the vinegar.
Secure the bag in place by wrapping a rubber band or twist tie tightly around the shower arm or pipe to hold the bag without leaking.
### Step 3: Let It Soak
Allow the shower head to soak in the vinegar for at least 2 hours. For heavy buildup, overnight soaking (6-8 hours) is even better.
### Step 4: Remove the Bag and Scrub
Carefully remove the bag, then use an old toothbrush to scrub the shower head’s nozzles and surface. The vinegar will have loosened most mineral deposits.
### Step 5: Clear Stubborn Holes
If some holes remain clogged, gently use a toothpick or needle to poke through and dislodge mineral deposits.
### Step 6: Rinse Thoroughly
Turn on the shower to rinse out any remaining vinegar and debris. Run the water for a few minutes until the flow is clear.
—
## Why This Trick Works So Well
* The **acid in vinegar** breaks down calcium and magnesium deposits.
* Soaking ensures the vinegar reaches inside the tiny holes where buildup forms.
* Scrubbing and poking clear the loosened particles.
* The process is gentle enough to avoid damage to your shower head.
—
## Additional Tips to Keep Your Shower Head Clear and Pressure High
### Regular Maintenance
Once you’ve restored water pressure, prevent future buildup by repeating the vinegar soak every 3-6 months, especially if you live in a hard water area.
### Use a Water Softener
If hard water is a chronic problem, installing a water softener system can reduce mineral content and prevent clogging throughout your home.
### Clean the Shower Head Thoroughly
Occasionally unscrew the shower head to clean the internal components and remove sediment buildup.
### Use a Shower Head with Rubber Nozzles
Shower heads with flexible rubber nozzles resist mineral buildup better and are easier to clean by simply rubbing the nozzles.
For Complete Cooking STEPS Please Head On Over To Next Page Or Open button (>) and don’t forget to SHARE with your Facebook friends
