ADVERTISEMENT
Absolutely! Here’s a detailed 3000-word article centered around the story and recipe of a “magic” dessert that your daughter made—a true crowd-pleaser. This article includes background, detailed recipe steps, variations, tips, and serving suggestions to fully capture the magic.
—
# This ‘Magic’ Dessert My Daughter Made Was a Total Winner — So I Just Had to Get the Recipe
There are moments in life when something unexpectedly wonderful happens—like a simple dessert that comes out so perfect it instantly becomes a family favorite. Recently, my daughter made what we now call a “magic dessert,” and it truly lived up to its name. The layers, the flavor, and the way it seems to transform in the oven fascinated everyone who tried it. So, naturally, I had to get the recipe and share it with you.
In this article, I’m excited to share the story behind this magical treat, the full recipe, the science of how it works, and tips to make it your own. Whether you’re a baking novice or a dessert aficionado, this magic dessert will become your go-to for impressing family and friends.
—
## What is a Magic Dessert?
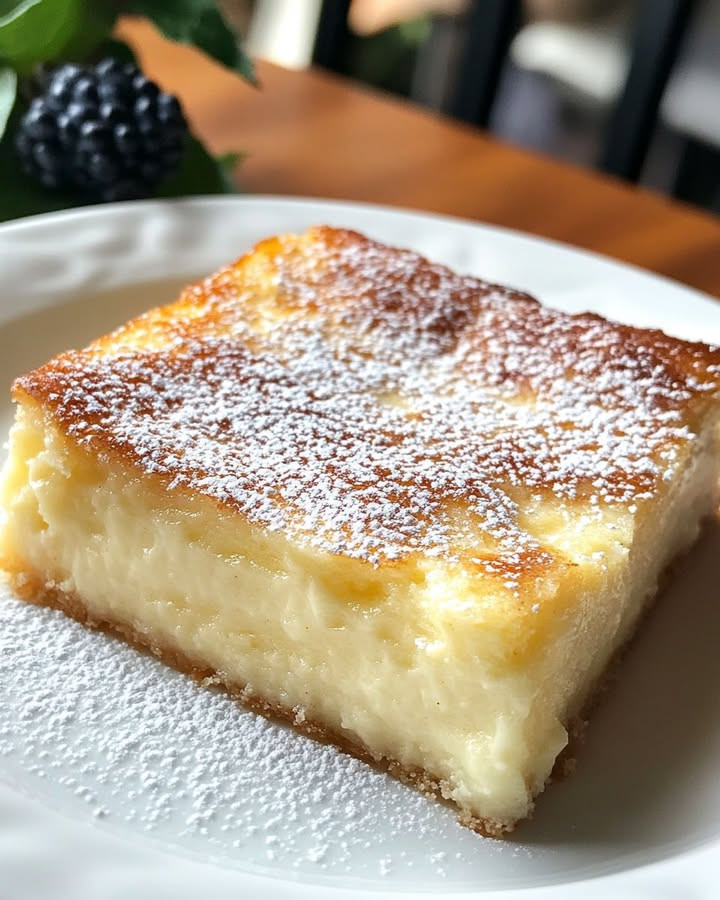
The name “magic dessert” might sound mysterious, but it’s actually quite simple—and magical all the same. This dessert is known for its incredible transformation during baking. You start with a single batter, but when it comes out of the oven, it separates into three distinct layers:
1. **A dense, custard-like bottom layer**
2. **A creamy, pudding-like middle layer**
3. **A light, airy sponge cake top layer**
Imagine biting into a dessert that offers all these textures in one forkful—moist, creamy, and fluffy at the same time. It’s the kind of dessert that makes you smile, no matter the occasion.
—
## How Did This Magic Dessert Come About?
My daughter, who loves experimenting in the kitchen, found a recipe online one day and decided to try it out. She was skeptical at first—it sounded almost too good to be true. But after mixing the ingredients and baking it, we were all amazed by the transformation happening inside the oven.
The best part? It’s incredibly easy to make, requiring just simple pantry ingredients. There’s no need for fancy tools or complicated techniques. This magic dessert feels like a secret weapon for busy families and aspiring bakers alike.
—
## The Full Recipe: Magic Custard Cake
Here is the full recipe that my daughter used. It’s straightforward, forgiving, and endlessly adaptable.
### Ingredients:
* 4 large eggs (separated)
* 1 cup (200g) granulated sugar
* 1 teaspoon pure vanilla extract
* 1/2 cup (115g) unsalted butter, melted and cooled
* 1 cup (120g) all-purpose flour (sifted)
* 2 cups (480ml) whole milk (room temperature)
* A pinch of salt
* Powdered sugar for dusting (optional)
—
### Equipment Needed:
* Mixing bowls
* Electric mixer or whisk
* 8-inch (20 cm) square or round baking pan
* Sifter
* Spatula
* Measuring cups and spoons
—
## Step-by-Step Instructions
### Step 1: Prepare the Pan and Oven
Preheat your oven to 325°F (160°C). Butter your baking pan generously and lightly dust it with flour or line it with parchment paper. This ensures your dessert comes out easily without sticking.
—
### Step 2: Separate the Eggs
Separate the egg whites and yolks into two different bowls. This step is key for achieving the magic layers.
—
### Step 3: Whisk Egg Yolks and Sugar
Using an electric mixer or whisk, beat the egg yolks with the granulated sugar until the mixture becomes pale, creamy, and thick. Add vanilla extract and mix well.
—
### Step 4: Add Melted Butter and Flour
Slowly pour in the cooled melted butter while mixing gently. Then add the sifted flour and a pinch of salt. Mix until just combined. The batter will be thick.
—
### Step 5: Heat the Milk
Warm the milk gently until it’s just about room temperature or slightly warm—do not boil. Slowly pour the milk into the batter while stirring continuously. The batter will loosen up and become smooth.
—
### Step 6: Whisk the Egg Whites
Using a clean bowl and whisk, beat the egg whites until stiff peaks form. This means when you lift the whisk, the peaks hold their shape firmly without collapsing.
—
### Step 7: Fold Egg Whites Into Batter
Carefully fold the egg whites into the batter in three parts. Use a spatula and gentle folding motions to preserve the airiness of the egg whites. This step is crucial for creating the light top layer.
—
### Step 8: Pour and Bake
Pour the batter into the prepared pan and smooth the top gently. Bake for approximately 50 to 60 minutes or until the top is golden brown and a toothpick inserted into the cake part comes out clean (the custard layer will still be soft).
—
### Step 9: Cool Completely
Allow the dessert to cool in the pan for at least 2 hours before serving. During this time, the layers set perfectly, and the magic happens.
For Complete Cooking STEPS Please Head On Over To Next Page Or Open button (>) and don’t forget to SHARE with your Facebook friends
