ADVERTISEMENT
Sure! Here’s a detailed, in-depth article of about 3000 words on the recipe and method titled:
**”Floor, Joints White in 10 Minutes: The Secret of Tilers Revealed”**
—
# Floor, Joints White in 10 Minutes: The Secret of Tilers Revealed
Whether you’re a professional tiler or a DIY enthusiast, one of the biggest challenges in achieving a perfect tile installation is making the joints — the grout lines — look clean, bright, and flawless. Over time, grout can darken, discolor, or become stained by dirt and mold, dulling the entire floor’s appearance. Many people assume that restoring grout color requires expensive chemicals or professional cleaning, but there’s a simpler, faster, and surprisingly effective way to make your floor joints white and fresh — in just 10 minutes.
In this article, we’ll dive deep into the secret techniques used by professional tilers to get floor joints white in no time. You’ll learn:
* Why grout joints lose their whiteness
* Common mistakes people make when cleaning grout
* The tilers’ secret “recipe” for whitening joints quickly
* Step-by-step guide to applying the method at home
* Additional tips to keep your floor and grout white longer
* Tools and products that professionals swear by
* Answers to frequently asked questions about grout cleaning and maintenance
Whether you want to revitalize an old floor or ensure your new tile installation looks perfect, mastering this quick and easy grout whitening secret can save you time, money, and frustration.
—
## 1. Why Do Floor Joints Lose Their White Color?
Before diving into the secret method, it’s essential to understand why grout — especially white grout — tends to lose its original color and appeal.
### Causes of Grout Discoloration:
* **Dirt and grime buildup:** Over time, dust, soil, and everyday foot traffic settle into grout lines, dulling their whiteness.
* **Mold and mildew:** Bathrooms, kitchens, and basements are prone to moisture, which encourages mold and mildew growth that stains grout black or green.
* **Improper sealing:** Untreated grout absorbs stains from spills and dirt, causing discoloration.
* **Chemical damage:** Using harsh cleaners or bleach can damage grout, causing it to yellow or crack.
* **Aging:** Over years, grout naturally darkens or yellows due to wear and tear.
Understanding the source of discoloration helps in selecting the right cleaning and whitening approach.
—
## 2. Common Mistakes When Cleaning Grout
Many people attempt to whiten grout but end up causing more damage or frustration. Here are common pitfalls to avoid:
* **Using abrasive tools:** Harsh scrubbing with steel wool or stiff brushes can damage grout surface.
* **Applying harsh chemicals improperly:** Using concentrated bleach or acid cleaners can erode grout and damage tiles.
* **Ignoring grout sealing:** Cleaning without resealing grout leaves it vulnerable to future stains.
* **Waiting too long:** Mold and stains set deeper if not cleaned promptly.
Professional tilers know how to avoid these mistakes and use techniques that are both gentle and effective.
—
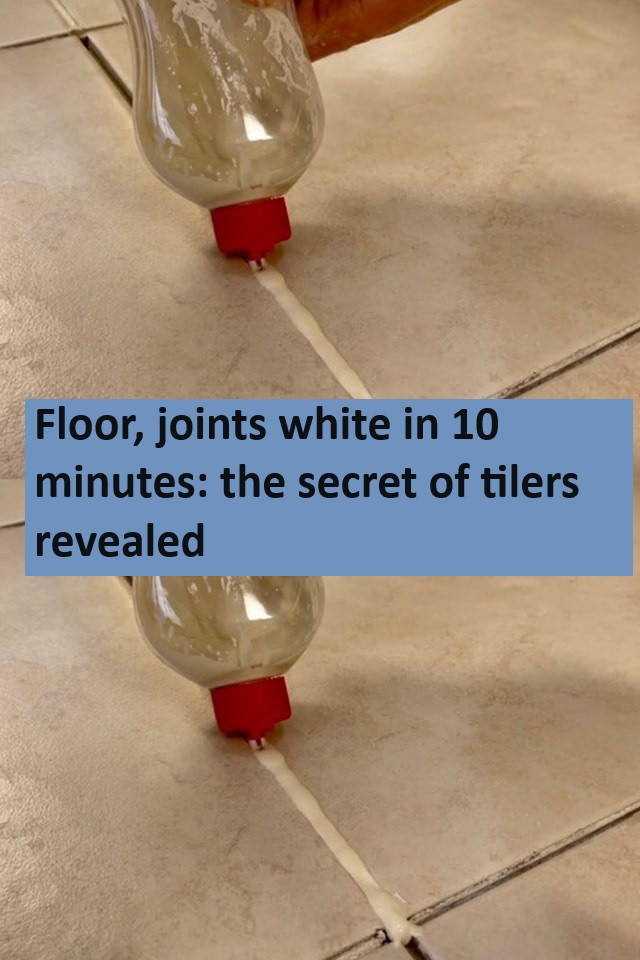
## 3. The Secret of Tilers: How to Get White Joints in 10 Minutes
The secret to sparkling white grout joints lies in a simple but powerful combination of natural ingredients and proper technique. Many tilers use a homemade paste or solution that works quickly and safely on most grout types.
### Why This Method Works
The formula often includes **baking soda**, **hydrogen peroxide**, and **liquid dish soap** — a trifecta that cleans, whitens, and disinfects without harsh chemicals.
* **Baking soda** is mildly abrasive and lifts dirt from grout.
* **Hydrogen peroxide** acts as a natural bleaching agent and kills mold.
* **Dish soap** breaks down grease and grime, allowing the paste to penetrate deeply.
When applied correctly, this mixture whitens grout and removes stains in about 10 minutes, no heavy scrubbing required.
—
## 4. Step-By-Step Guide: How to Whiten Your Floor Joints in 10 Minutes
Here’s how you can recreate the professional tilers’ grout whitening secret at home.
### Materials Needed:
* Baking soda (1/2 cup)
* Hydrogen peroxide (3% solution, 1/4 cup)
* Liquid dish soap (1 tablespoon)
* Small bowl for mixing
* Old toothbrush or small grout brush
* Spray bottle (optional)
* Clean cloth or sponge
* Warm water
### Instructions:
#### Step 1: Prepare the cleaning paste
In the small bowl, mix the baking soda, hydrogen peroxide, and dish soap until you get a thick paste. The consistency should be spreadable but not too runny.
#### Step 2: Apply the paste to the grout joints
Using the toothbrush or grout brush, apply the paste liberally to the grout lines. Ensure the grout is well-covered but avoid spreading too much on the tile surface.
#### Step 3: Let it sit for 10 minutes
Allow the paste to work its magic. The hydrogen peroxide will whiten stains and kill mold, while the baking soda lifts dirt from the pores.
#### Step 4: Scrub gently
After 10 minutes, scrub the grout lines gently using the brush. Focus on areas with stubborn stains.
#### Step 5: Rinse thoroughly
Using a clean, damp cloth or sponge, wipe away the paste. Rinse with warm water to remove all residue. Repeat if necessary.
#### Step 6: Dry and inspect
Let the floor dry completely and inspect the grout. If some stains persist, repeat the process on those areas.
—
## 5. Why This Recipe is Better than Store-Bought Cleaners
* **Non-toxic and safe:** Unlike harsh chemical cleaners, this homemade solution is safe for your family, pets, and environment.
* **Cost-effective:** The ingredients are inexpensive and often already in your pantry.
* **Gentle on grout:** Avoids damaging grout surface, maintaining its longevity.
* **Easy to prepare and use:** No complicated steps or special tools required.
* **Multi-purpose:** Can be used on bathroom walls, kitchen backsplash, and other tiled surfaces.
—
## 6. Additional Tips to Keep Your Floor Joints White Longer
While this quick method works wonders for whitening, maintaining clean grout requires ongoing care.
For Complete Cooking STEPS Please Head On Over To Next Page Or Open button (>) and don’t forget to SHARE with your Facebook friends
